Are you looking for a quick and easy way to install WordPress on FastPanel? This step-by-step guide will help you create your own WordPress website in just a few minutes, from pointing your domain and installing an SSL certificate to accessing the admin dashboard. Let’s get started today!
Table Of Content
- 1. Preparation Steps: Pointing Your Domain to the VPS (Using Cloudflare)
- 1.1. Log In to FastPanel and Select Website Management
- 1.2. Configure DNS Records on Cloudflare
- 2. Creating a New WordPress Website on FastPanel
- 2.1. Initiate the Website Creation Process
- 2.2. Enter Domain and WordPress Account Information
- 2.3. Set Up WordPress Admin Login Credentials
- 2.4. Finalize Website Creation
- 3. Installing an SSL Certificate for Your WordPress Website on FastPanel
- 4. Completing Installation and Accessing Your WordPress Admin Panel
- 4.1. Verify Your Website
- 4.2. Accessing the WordPress Admin Panel (wp-admin)
1. Preparation Steps: Pointing Your Domain to the VPS (Using Cloudflare)
Before you proceed with creating a WordPress website on FastPanel, you need to ensure your domain name is pointing to your Virtual Private Server’s (VPS) IP address. In this guide, we’ll use Cloudflare’s DNS for optimized website performance and security.
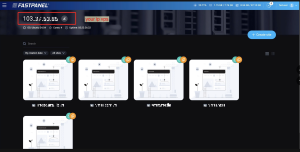
1.1. Log In to FastPanel and Select Website Management
First, log in to FastPanel using your account credentials. Once successfully logged in, on the FastPanel 2 interface, locate and click the “Menu” icon (three horizontal lines). From the dropdown menu, select “Website Management” to view a list of existing websites or to prepare for a new creation. (Image placeholder: FastPanel login interface and “Website Management” selection)
1.2. Configure DNS Records on Cloudflare
To ensure your domain name resolves to your VPS’s IP address, we will configure the domain’s DNS records directly on Cloudflare. This process should be completed before creating the website on FastPanel, as it typically takes 5-10 minutes for the domain to recognize the new IP.
- Log in to your Cloudflare account.
- Select the domain you wish to use.
- In the DNS section, add
Arecords pointing your domain (e.g.,yourdomain.com) andwww.yourdomain.comto your VPS’s IP address. - A Record | Name: yourdomain | Value: your ip vps
Cname Record | Name: www | Value: yourdomain
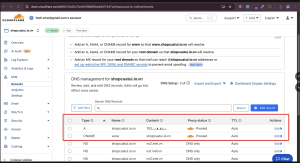
(Image placeholder: Cloudflare DNS configuration interface)
2. Creating a New WordPress Website on FastPanel
Once your domain has been successfully pointed and Cloudflare has recognized the IP, you can return to FastPanel to begin the WordPress installation.
2.1. Initiate the Website Creation Process
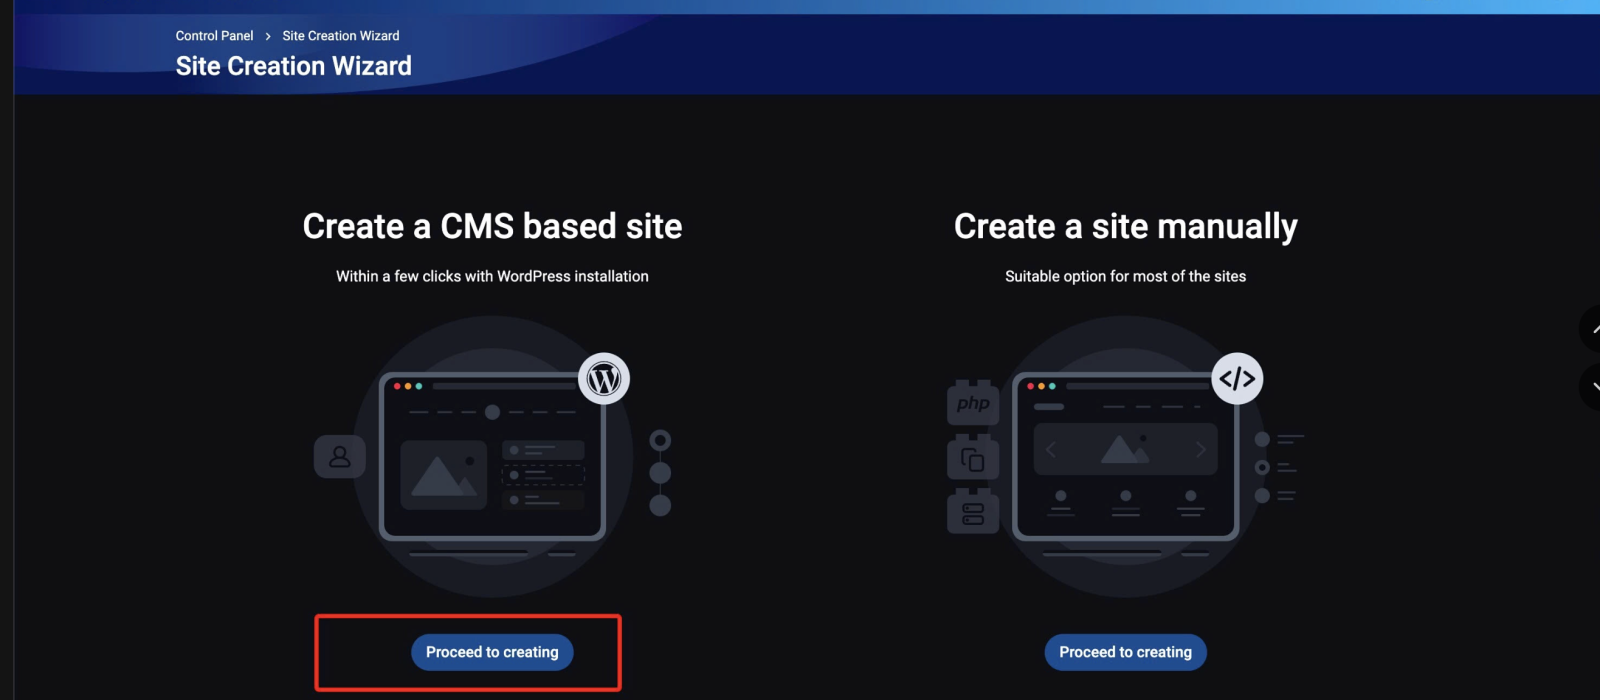
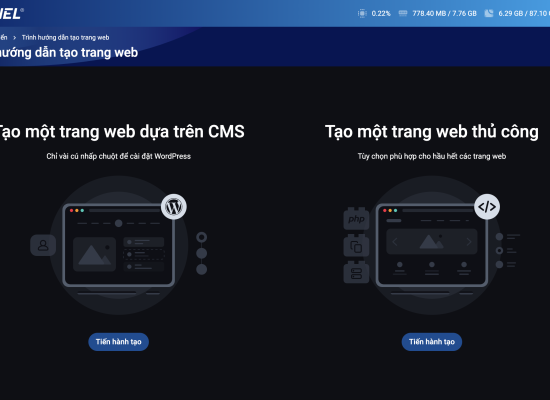
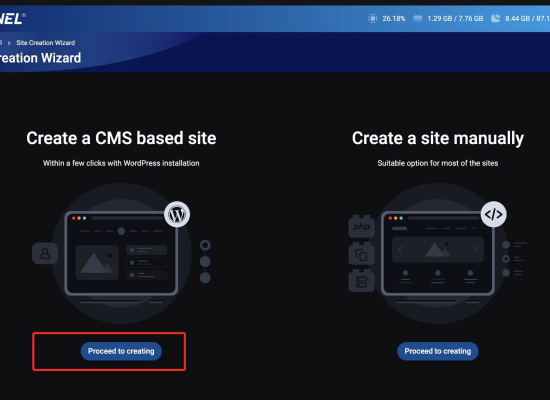
In the “Website Management” section of FastPanel, click the “Create Site” button. Next, you’ll see options for site creation. Select “Create CMS Basic Site” which features the WordPress icon, and then click “Process to creating“.
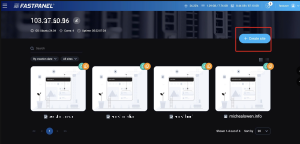
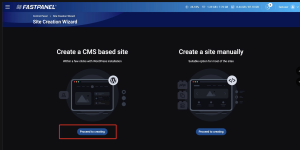
(Image placeholder: Selecting “Create CMS Basic Site” with the WordPress icon)
2.2. Enter Domain and WordPress Account Information
You’ll be prompted to fill in the necessary details:
- Domain: Enter your website’s domain name (e.g.,
yourdomain.com). - Username: A username for website administration.
- Password: A strong password for the administrative account.
- Note: You can check the “www” box if you want your website accessible via
www.yourdomain.com, and check the “email” box if you wish to configure domain-based email later.
After filling in all the information, click “Next step“.
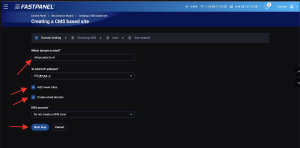
(Image placeholder: Form for entering domain and account information)
2.3. Set Up WordPress Admin Login Credentials
Continue by entering the details for your WordPress administrator login:
- Username: Your WordPress admin username.
- Password: Your WordPress admin password.
- Email: An email address to receive login information and password recovery options.
Important: Make sure to check the box to “send login information via email” and note down all the information you just created. You’ll need these credentials to access your WordPress admin panel later.
Click “Next step” to complete this stage.
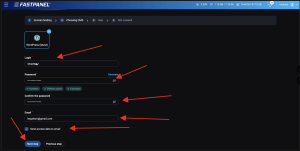
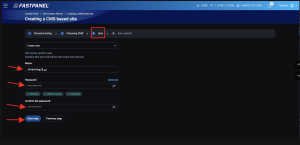
(Image placeholder: Entering WordPress admin account details)
2.4. Finalize Website Creation
Wait a moment as FastPanel automatically installs WordPress for you. You’ll receive a notification when the process is complete.
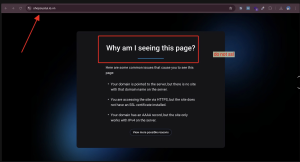
Now, try accessing your domain in a browser. If you see a page displaying “Why I am seeing this page?” or a blank screen, it means the website has been successfully created but does not yet have an SSL certificate. Don’t worry, we’ll fix this in the next step.
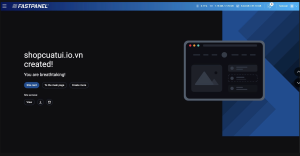
3. Installing an SSL Certificate for Your WordPress Website on FastPanel
For your website to display securely and be trusted by browsers (indicated by a green padlock icon), installing an SSL certificate is mandatory.
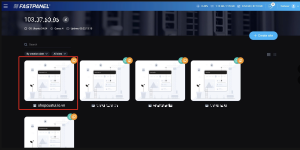
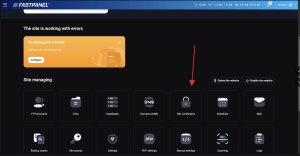
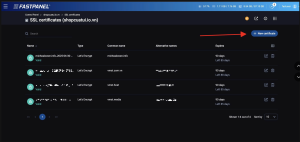
In the “Website Management” section of FastPanel, select the website you just created. Scroll down a bit, find and click on “SSL Certificates“. Choose “New Certificate“. The system will automatically verify your domain. Ensure the domain name is correct, and you don’t need to fill in any additional information. Click “Save” and wait for about 5 seconds. The SSL certificate will be successfully issued, and your domain’s status will change to “Valid“.
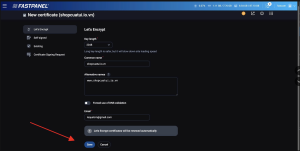
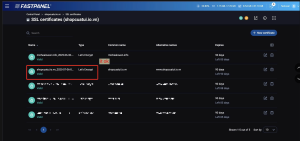
(Image placeholder: FastPanel SSL installation interface and “Valid” SSL status)
4. Completing Installation and Accessing Your WordPress Admin Panel
Congratulations! You’ve successfully completed the steps to create a WordPress website on FastPanel and install an SSL certificate.
4.1. Verify Your Website
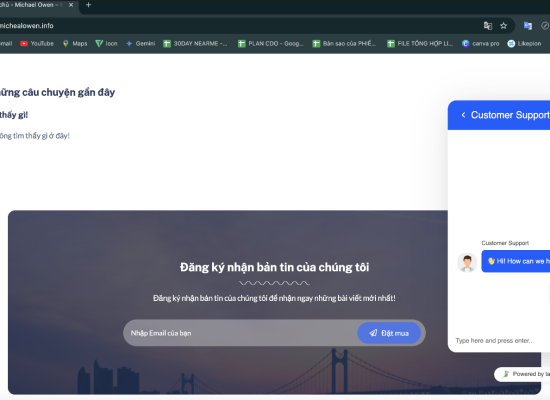
Return to your browser and reload your domain’s page. You should now see the default WordPress welcome page with “WordPress Blog” (or similar), confirming that the installation was successful and SSL is active.
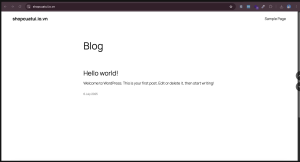
(Image placeholder: WordPress Blog page after successful installation)
4.2. Accessing the WordPress Admin Panel (wp-admin)
To begin customizing your website, you need to access the WordPress administration panel.
Use the following URL in your browser: yourdomain.com/wp-admin Then, enter the username and password you noted down in step 2.3, or use the credentials sent to your website’s registration email.
THE END GUIDE LUCKY BROO!



No Comment! Be the first one.