How to Install Tawk.to Live Chat Plugin on Your WordPress Website
Table Of Content
- How to Install Tawk.to Live Chat Plugin on Your WordPress Website
- 1. Create a Tawk.to Account
- 2. Enter Your Domain for Initial Setup
- 3. Copy the Embed Code
- 4. Install the WPCode Plugin (or Another Code Snippet Plugin)
- 5. Create a New Code Snippet and Paste the Tawk.to Code
- 6. Test and Complete Installation
Want to interact directly with customers on your WordPress website? Tawk.to is a free and powerful live chat solution that helps you connect quickly and effectively. Here’s a step-by-step guide to installing and activating Tawk.to on your website.
1. Create a Tawk.to Account
First, you’ll need a Tawk.to account.
- Visit the official Tawk.to website: https://www.tawk.to/
- Click the “Sign up Free” button to start the new account creation process.
- Fill in the required information such as your name, email, password, and follow the instructions to complete registration.
2. Enter Your Domain for Initial Setup
After successfully registering and logging into your Tawk.to account:
- The system will prompt you to enter the domain name of the website where you want to integrate live chat. For example:
yourwebsite.com. - Enter the correct domain and follow the basic setup steps provided by Tawk.to.
3. Copy the Embed Code
This is a crucial step to connect Tawk.to with your website.
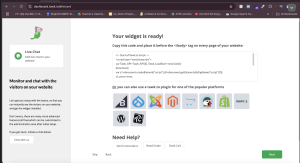
- During the setup process after entering your domain, or you can find it under “Administration” > “Chat Widget” in your Tawk.to dashboard.
- You will see a JavaScript code snippet. Copy this entire code. We’ll paste it into your WordPress website in the next step.
4. Install the WPCode Plugin (or Another Code Snippet Plugin)
To safely and effectively paste the Tawk.to code into your WordPress website, we’ll use the WPCode plugin.
- Log in to your WordPress admin dashboard (usually
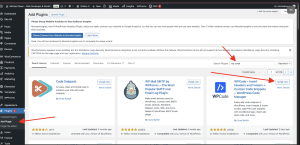
yourwebsite.com/wp-admin). - In the left-hand menu, hover over “Plugins” and select “Add New”.
- In the search box, type “WPCode”.
- Find the plugin “WPCode – Insert Headers and Footers, Custom Code Snippets, CSS & Javascript” (or a similar plugin like “Insert Headers and Footers”).
- Click “Install Now” and then “Activate” the plugin.
5. Create a New Code Snippet and Paste the Tawk.to Code
Once WPCode is activated:
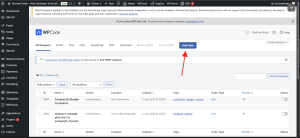
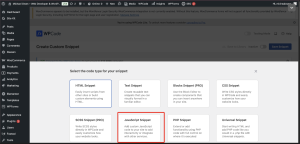
- On the WordPress admin menu, hover over “Code Snippets” and select “Add New”.
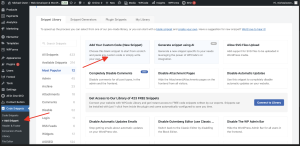
- Choose the option “Add Your Custom Code (New Snippet)” or “Add Custom Code”.
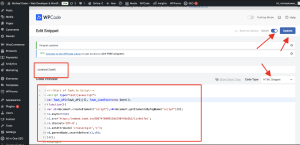
- Give this code snippet an easy-to-remember name, for example: “Tawk.to Live Chat Code”.
- In the “Code Type” section, select “HTML Snippet” (or sometimes just “JS Snippet” if there’s no specific JavaScript option and you’re pasting the entire HTML/JS code).
- In the code editor box, paste the Tawk.to code that you copied in Step 3.
- Ensure that the “Location” is set to “Footer” or “Sitewide Footer”. This ensures the chat widget loads last, without affecting initial page load speed.
- Toggle the “Active” button to enable the code.
- Finally, click the “Save Snippet” button.
6. Test and Complete Installation
After saving the code snippet:
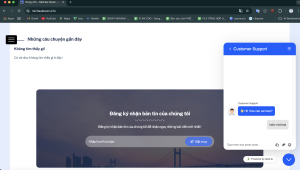
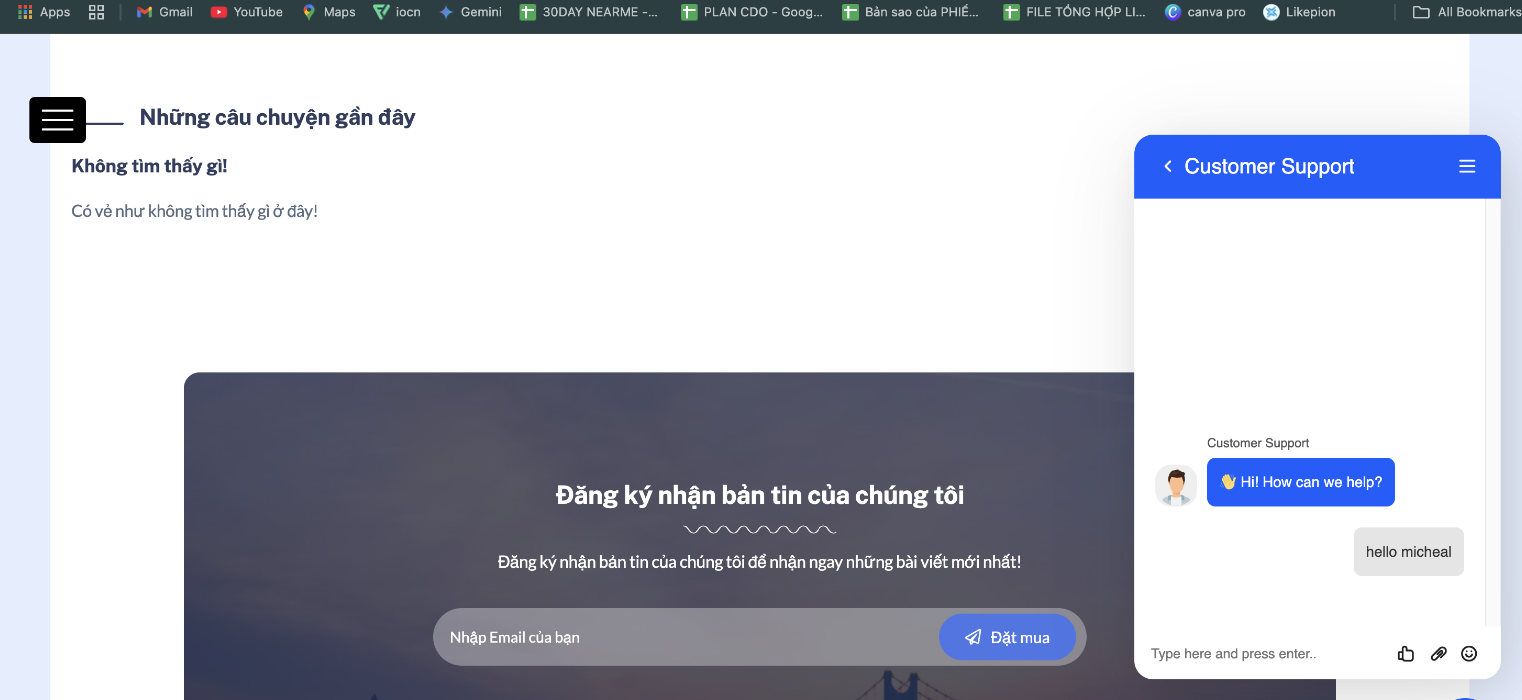
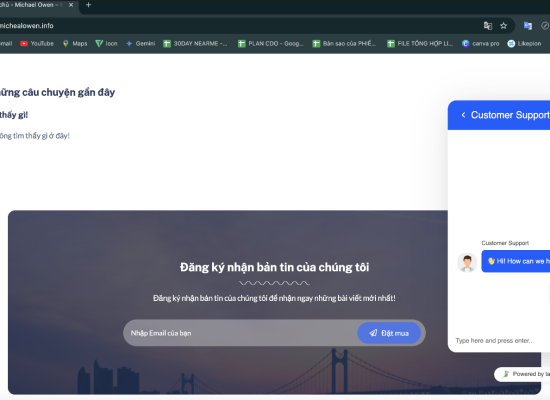
- Open your website in an incognito window or a different browser to check. You should see the Tawk.to icon or chat widget appear in the bottom corner of your website.
- Return to your Tawk.to dashboard. During the initial setup, you might be prompted to configure additional settings. You can repeatedly click “Skip” if you wish to bypass advanced configurations for now.
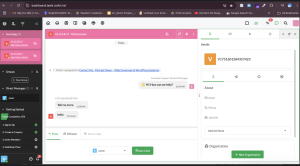
- After skipping all configurations, or if you log back into Tawk.to, you will be taken to the message waiting screen (Dashboard), ready to receive messages from customers.
Congratulations! You have successfully installed Tawk.to live chat on your WordPress website. You’re now ready to interact with and support your customers more effectively!

No Comment! Be the first one.